
Creating homemade rabbit pens is a great way to give your rabbit a safe and comfortable home. With some basic materials, you can make your own pen that gives your rabbit plenty of room to roam, rest, and play. This article will explain the steps necessary to build the perfect home for your rabbit, from selecting the right materials to making sure the pen is large enough for your furry friend. With these instructions, you’ll be able to make a rabbit pen that will keep your pet safe and happy.
Benefits of Homemade Rabbit Pens
- Cost-Effective: Homemade rabbit pens can be created for minimal cost and require only basic materials such as wood, plywood, wire mesh, and metal posts.
- Customizable: Homemade rabbit pens can be customized to fit the size, shape, and needs of your rabbit, as well as the space available.
- Safe: Homemade rabbit pens can be built to provide a safe and secure environment for your pet, with proper ventilation and protection from predators.
- Easy to Clean: Since homemade rabbit pens are typically constructed with materials that are easy to clean, you can maintain a healthy environment for your pet with minimal effort.
- Easy to Move: Homemade rabbit pens can be constructed to be light-weight and easily moved, allowing you to change the location of the pen as needed.
Materials Needed for Rabbit Pens
| Materials | Amount |
|---|---|
| Fence wire | Enough to cover the designated area |
| Wooden boards/posts | 2-3 |
| Nails/Screws | As required |
| Saw | 1 |
| Hammer | 1 |
| Drill | 1 (optional) |
| Wire cutters | 1 |
| Wire ties | As required |
| Plywood | As required |
Constructing a homemade rabbit pen requires a few tools and materials. Fence wire is needed to cover the designated area, and wooden boards or posts are used for the frame. Nails or screws are used to secure the frame and plywood to the fence wire. A saw, hammer, drill and wire cutters are needed to cut and assemble the frame. Finally, wire ties are used to secure the fence wire to the frame.
Step-by-Step Instructions for Making Rabbit Pens
| Step | Instructions |
|---|---|
| 1 | Measure the area where the pen will be located. Take into account the size of the rabbit and the amount of space needed for them to move around. |
| 2 | Gather the materials needed to build the pen. Depending on the size and design, this may include wood, mesh, screws, nails, and a drill. |
| 3 | Cut the wood to the desired size and shape. This will depend on the size of the rabbit and the design of the pen. |
| 4 | Attach the mesh to the wood using the screws and nails. Make sure the mesh is securely attached so the rabbit cannot escape. |
| 5 | Using the drill, make holes in the wood for ventilation. These holes should be small enough that the rabbit cannot fit through them. |
| 6 | Add bedding and toys to the pen. This will make the rabbit more comfortable and give them something to do. |
| 7 | Place the rabbit in the pen and make sure all the doors are closed securely. Monitor the rabbit for the first few days to make sure they are comfortable in their new home. |
Construction of Rabbit Pens
Foundations
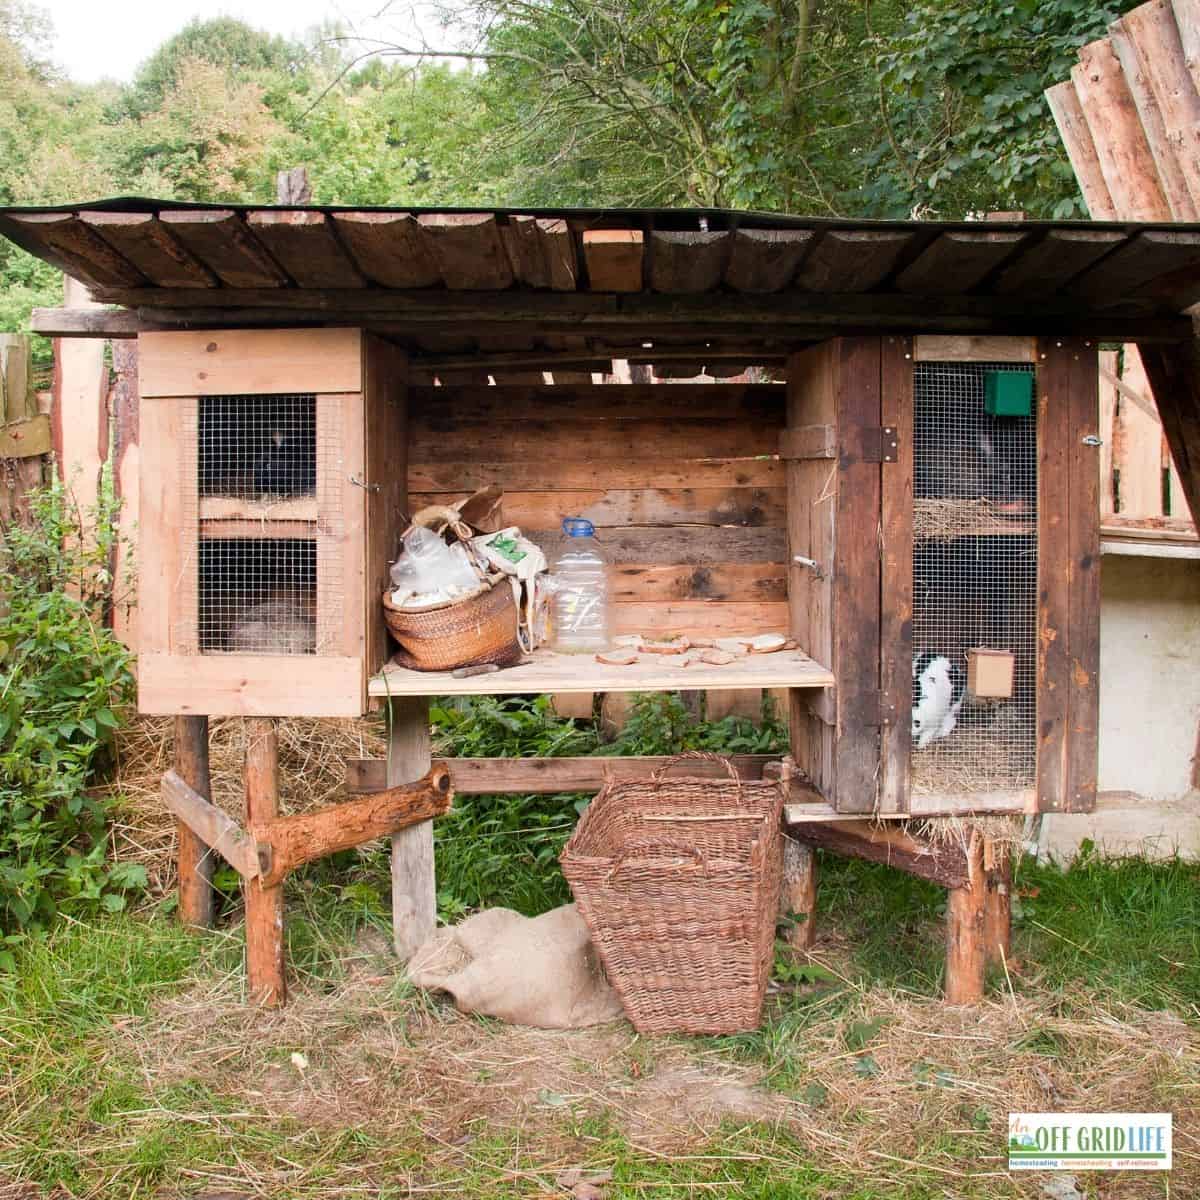
To begin, decide on where you want to build the pen and measure the area. Then lay down a solid, impermeable foundation of either concrete or wood. The wood foundation should be secured with screws or nails and have vertical supports to provide additional strength. Keep in mind the pen should be slightly elevated from the ground to allow for drainage and prevent flooding.
Building the Walls
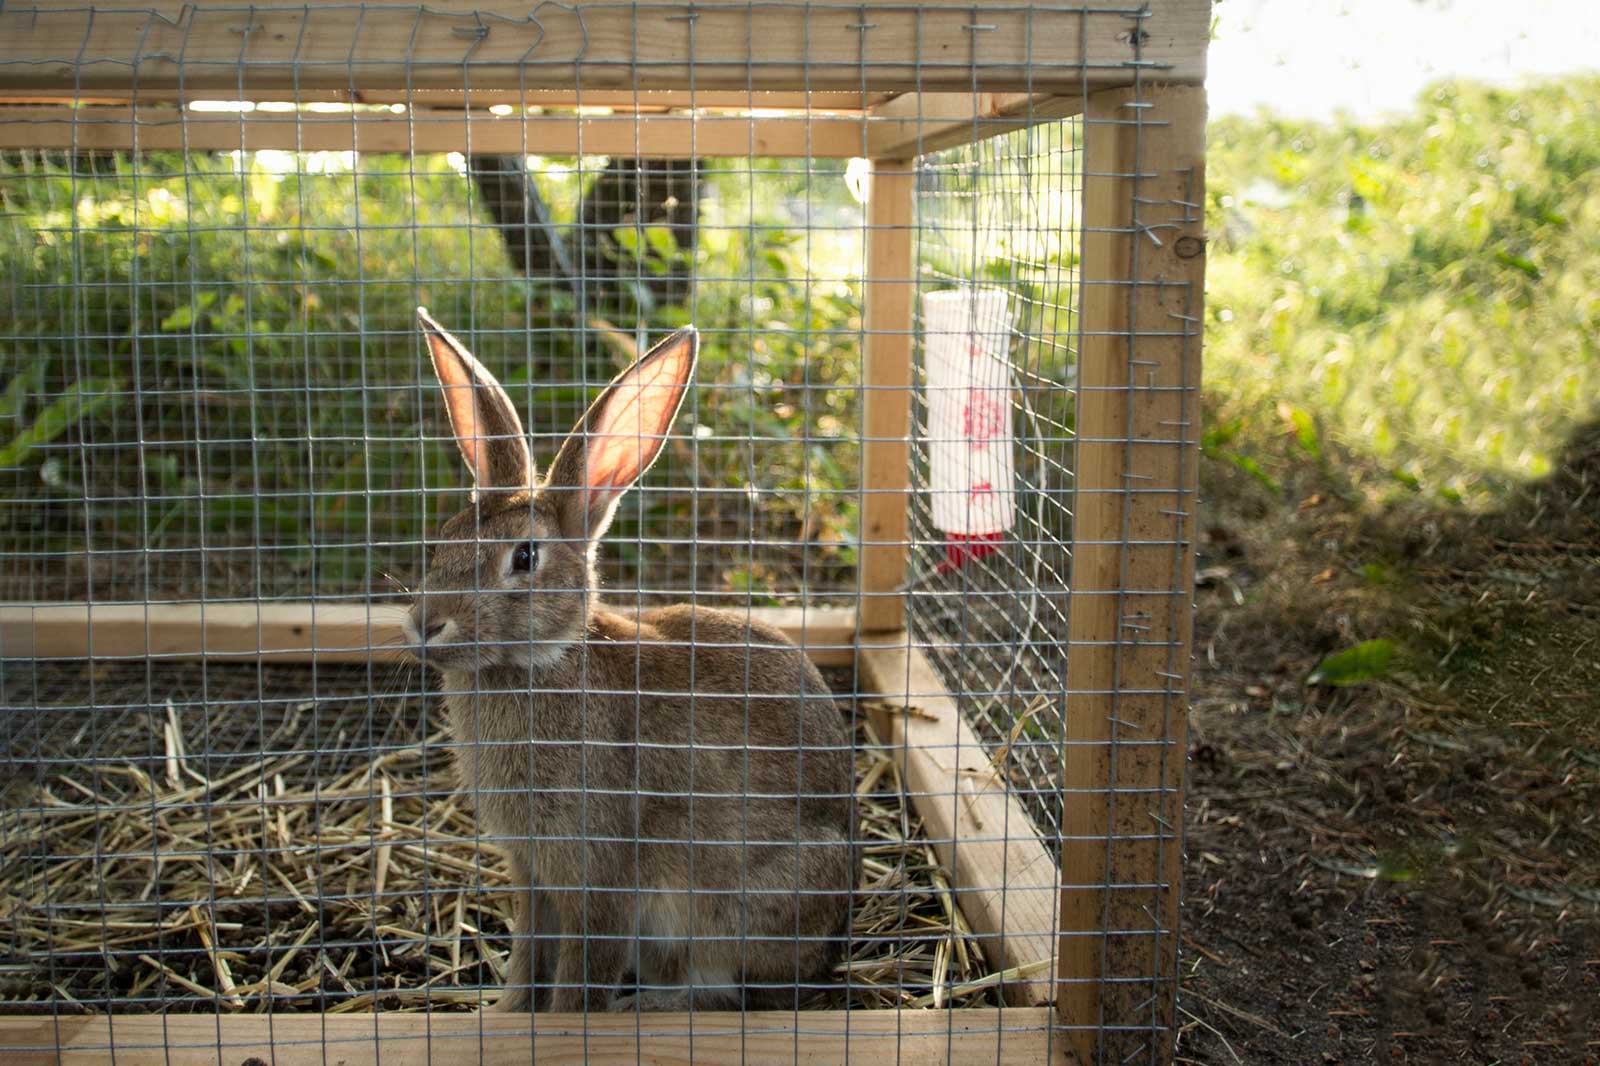
Once the foundation is laid, it’s time to begin constructing the walls. For the walls, you can use wood, wire mesh, or any other material that is strong enough to hold the rabbit in. If you are using wood, make sure it is treated to prevent rotting. Also, make sure the walls are tall enough to keep the rabbit in and predators out.
Installing the Top & Door
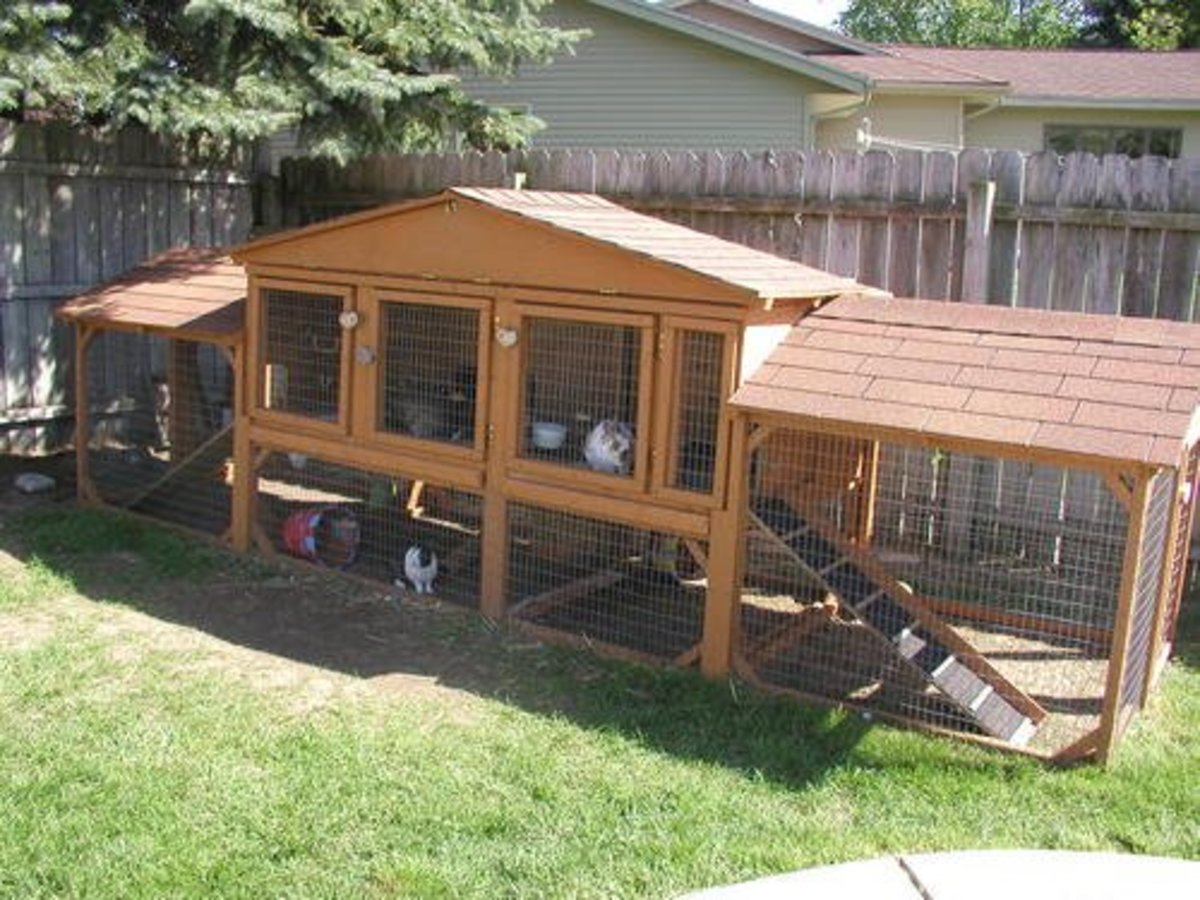
Once the walls are up, you can install the top and door. The top should be made out of something sturdy and secure, like chicken wire or metal mesh. For the door, you can either make one from scratch or buy a pre-made one. Make sure the door is easy to open and close and that it has a secure locking mechanism.
Finishing Touches
Finally, you can add finishing touches to make the pen more comfortable for your rabbit. This can include adding a ramp or steps, adding hay or straw for bedding, and placing toys and objects for the rabbit to explore. It is also important to make sure the pen is well-ventilated and protected from the elements.
Choosing Bedding & Toys for the Rabbit Pens
- Bedding – Rabbit bedding should be soft and absorbent, such as paper-based products, wood shavings, or shredded cardboard. Avoid using hay or straw, as these can cause respiratory problems for your rabbits.
- Toys – Rabbits love to chew, so make sure to provide plenty of chew toys in the pen, such as straw mats, hardwood chew toys, and cardboard tubes. You can also add in some soft toys, such as tennis balls and stuffed animals, for them to snuggle up with.
Properly Setting Up the Rabbit Pens
- Choose a location for the pen that is sheltered from the wind, rain and direct sunlight.
- Select a spot that is not prone to flooding, and make sure there is good drainage in case it rains.
- The pen should be at least 6ft x 6ft, but preferably 8ft x 8ft, to give your rabbit plenty of space.
- The floor of the pen should be covered with a thick layer of straw or hay, to provide a comfortable and warm bedding for your rabbit.
- Ensure the pen has a secure top and sides, to keep your rabbit safe.
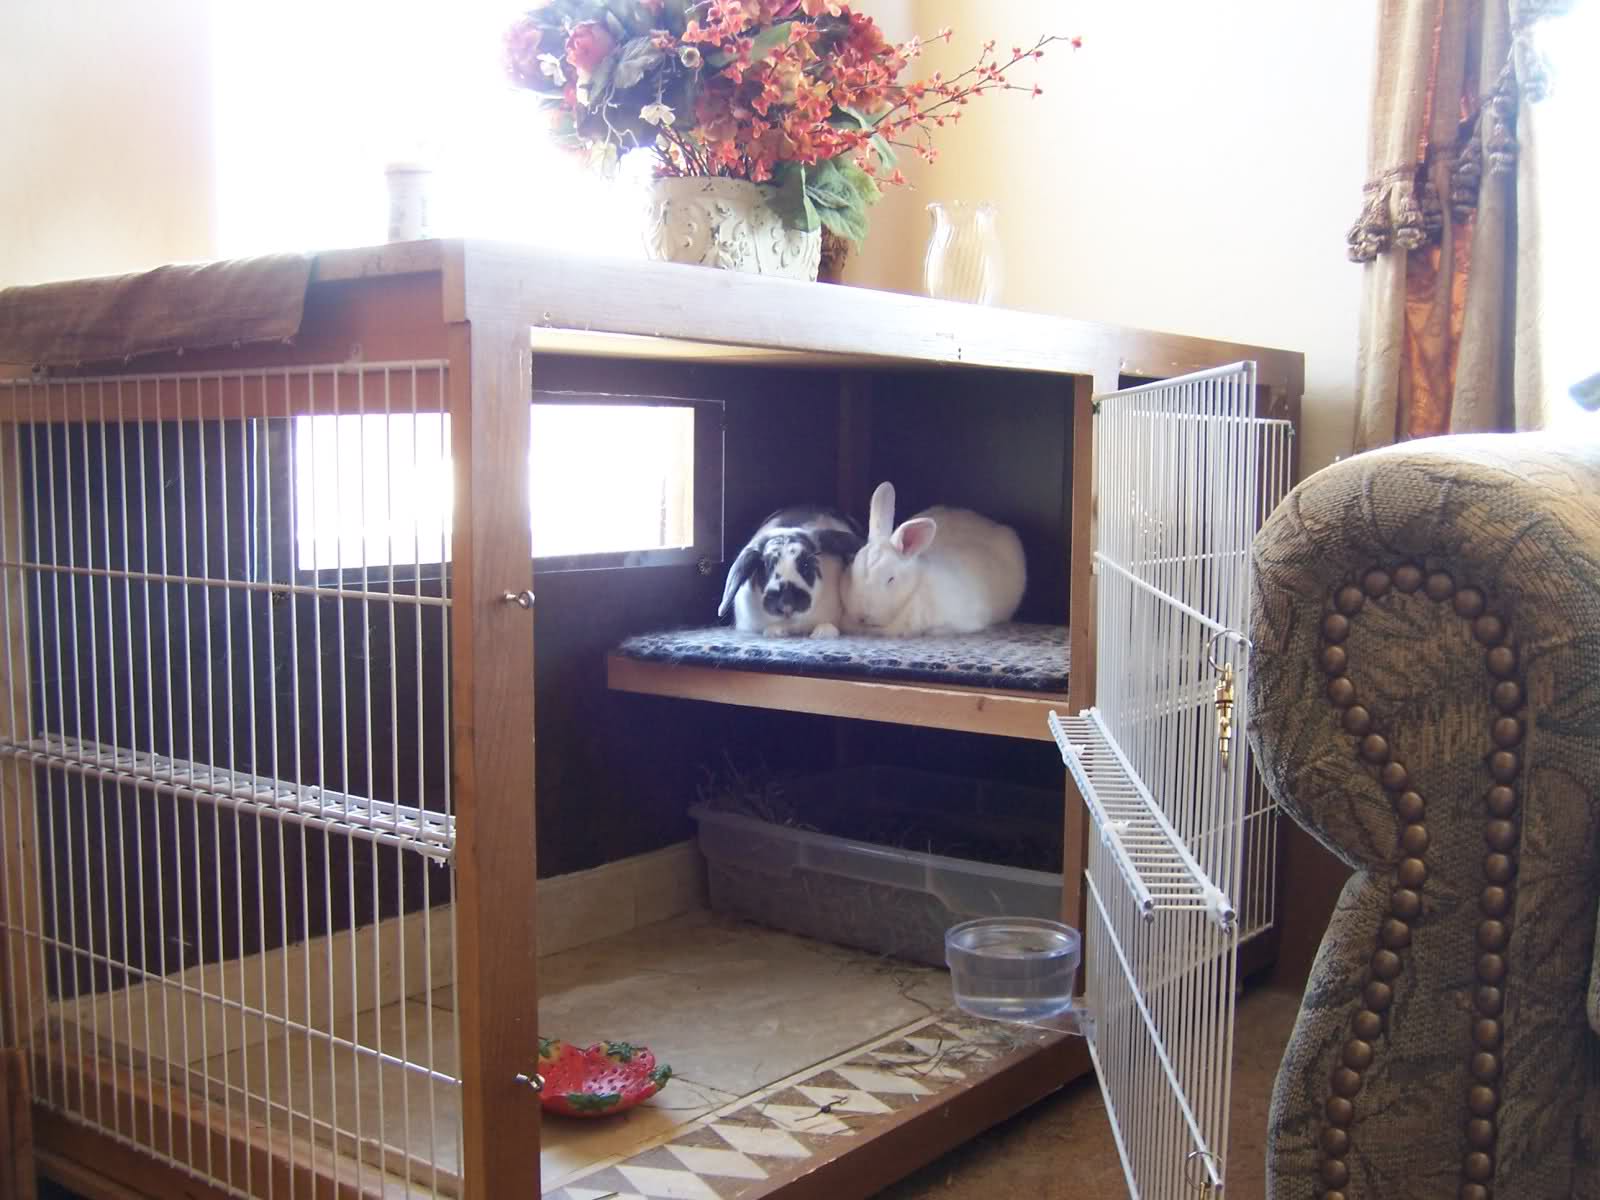
- Provide a sturdy hutch or box in the pen, as a hideaway and place of security.
- Place a water bottle, hayrack and food bowl in the pen, so your rabbit can feed and drink safely.
- Provide a few toys and other items for your rabbit to explore and play with.
- Check the pen regularly for signs of damage or wear and tear, and make repairs or replacements as necessary.
Important Considerations
- Size: Make sure the pen is big enough for your rabbit to move around and explore. The recommended size for a homemade pen is at least 6 square feet.
- Materials: The materials you choose for your rabbit pen should be safe and non-toxic for your pet. It’s best to use untreated wood or galvanized wire.
- Safety: Make sure the pen is securely fastened and escape-proof. It should be high enough that your rabbit won’t be able to jump out and be sure to check for any potential hazards that can harm your pet.
- Accessories: Consider adding accessories to the pen to make it more comfortable for your rabbit. Providing a hideaway, toys, and things to chew on can help keep your rabbit entertained.
Frequently Asked Questions
What kind of materials do I need to make a rabbit pen?
To make a rabbit pen, you need materials such as plywood, screws, hinges, wire mesh, wire cutters, and a saw. Plywood should be cut to size and fixed together with screws to form the walls. Hinges can then be used to attach the two sides of the walls together to form the pen. A wire mesh should then be affixed to the walls and cut with wire cutters to fit the size of the pen. Finally, a saw can be used to make an entrance to the pen.
How Much Space Should I Allocate for a Rabbit Pen?
Rabbits need plenty of room to explore and exercise, so it’s important to provide them with adequate space in their pen. Generally, the minimum size for a single rabbit pen should be 6 square feet, and for two or more rabbits, the minimum size should be 10 square feet. Additionally, the pen should be tall enough for your rabbit to stand on its hind legs and stretch out. Providing your rabbit with a spacious pen will help keep it healthy and happy!
How do I Ensure the Safety of My Rabbit in the Pen?
When building a pen for your rabbit, it’s important to consider their safety. Make sure the pen is escape-proof by using sturdy materials such as wood or metal and secure fastenings like latch locks. If using wire mesh, make sure it is small enough so that your rabbit cannot squeeze through the gaps. Place the pen in a secure area away from wild animals, children and other pets. Check the pen regularly for any signs of damage or weak areas that need to be fixed or replaced.
How Often Should I Clean the Pen?
- Daily: Spot clean the pen every day to keep it neat and hygienic. This includes removing any wet patches, cleaning up food scraps, and making sure the pen is odor-free.
- Weekly: Every week, give the pen a thorough scrub-down. This includes sweeping the floor of the pen, scrubbing the walls and surfaces, and disinfecting the area with an animal-friendly cleaner.
- Monthly: Once a month, examine the pen for any signs of damage or wear and tear. Repair any broken parts or pieces, and make sure the pen is still secure and safe for your rabbit.
- Seasonally: At least once every season, check and replace any bedding that may be worn out. Also, make sure the pen is free of debris, such as leaves and twigs.
What Kind of Bedding Should I Use in the Pen?
Rabbits need a soft, comfortable bedding material in their pen so they can relax and rest. Shredded paper, hay, and straw are all suitable bedding materials. Avoid using cedar or pine shavings, as they can be harmful to rabbits. Change the bedding regularly to keep the pen clean and hygienic.
Conclusion
Creating a homemade rabbit pen can be a rewarding experience, as well as a great way to provide your beloved pet with a safe and secure environment. With the right materials, careful planning, and a bit of creativity, you can create a perfect home for your rabbit that will last for years to come.